Documentation Talk:Tutorial Section 3.7
Radiosity with conventional lighting
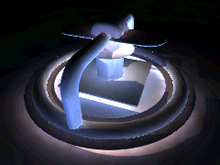
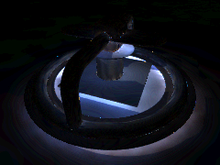
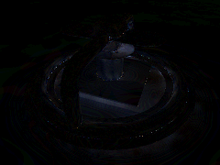
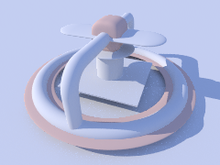
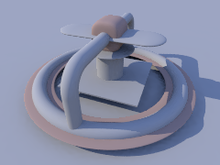
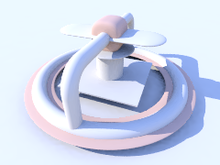
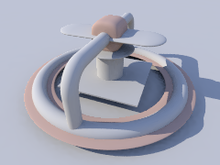
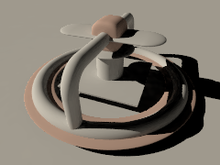
Setting up a work area for the changes to the radiosity image layout:
|
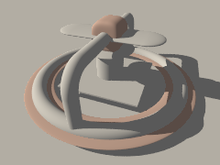
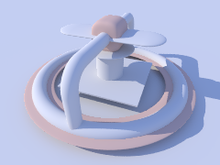
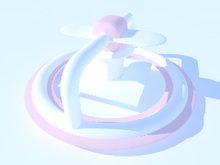
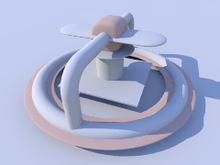
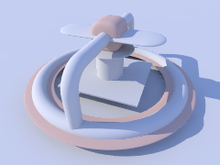
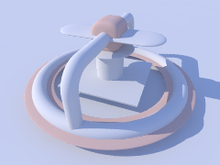
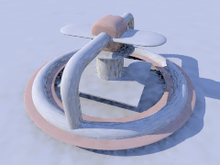
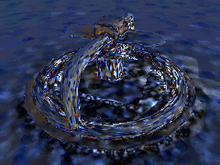
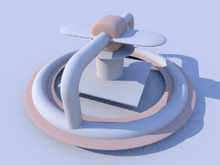
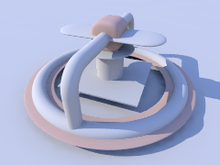
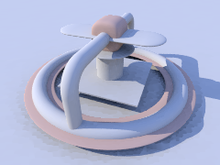
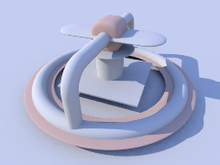
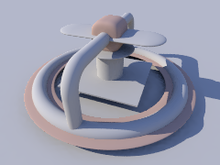
no radiosity |
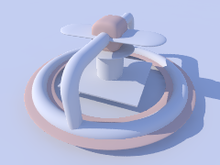
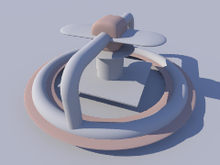
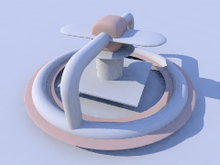
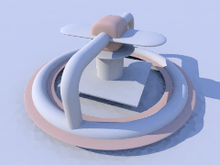
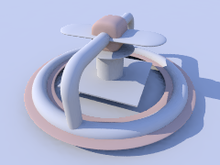
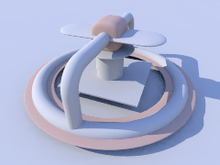
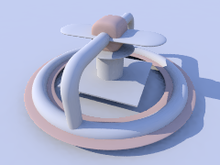
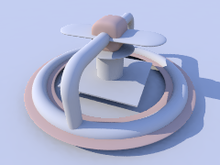
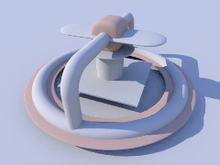
radiosity |
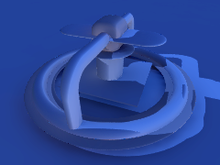
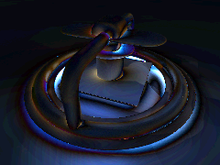
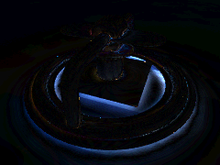
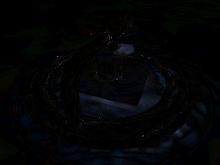
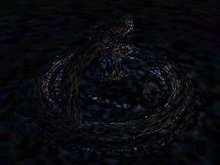
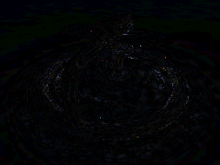
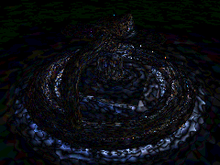
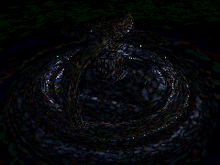
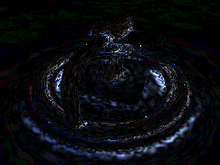
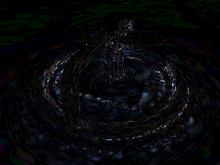
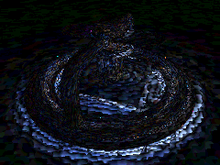
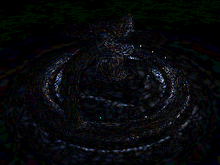
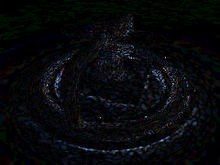
difference w/o radiosity |
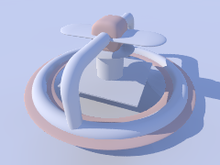
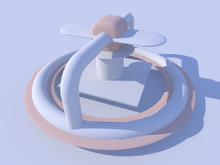
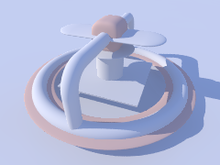
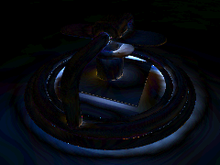
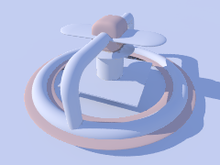
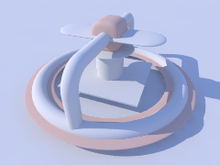
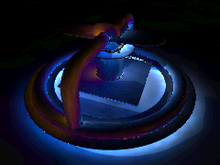
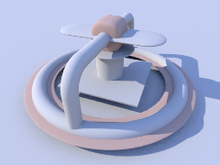
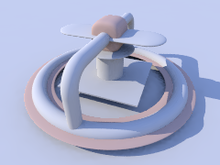
You can see that radiosity greatly affects the shadowed parts when applied in combination with conventional lighting.
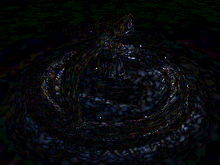
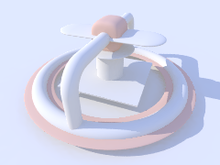
Radiosity provides a lot of settings to trade off quality for rendering speed. For instance, here is the same scene with default settings (just a radiosity{} block with no content), with our reference settings, and with some maddeningly high-quality settings (which you shouldn't try at home because they take ages to render); below each image you see the difference to the high-quality version:
|
default settings |
tutorial reference settings |
high-quality render |
|
default settings (difference) |
tutorial reference settings (difference) |
Changing brightness changes the intensity of radiosity effects. Specifying brightness 0 would be the same as without radiosity (theoretically; in practice POV-Ray doesn't accept a zero value). As a rule brightness 1 should work correctly in most cases. If the effects are too strong you can reduce this, though this is not recommended, as it's usually an indication that your textures are too bright and your illumination too dim. Larger values lead to quite strange results in most cases.
|
brightness 0.5 |
brightness 1.0 |
brightness 2.0 |
The recursion_limit setting primarily affects the brightness of shadows, nooks and corners. The images below show the results of setting this parameter to 1, 2 and 5 respectively, with the second line showing the difference to our reference settings (recursion_limit 3):
|
recursion_limit 1 |
recursion_limit 2 |
recursion_limit 5 |
|
recursion_limit 1 (difference) |
recursion_limit 2 (difference) |
recursion_limit 5 (difference) |
You can see that values higher than 3 do not lead to any better results in such a quite simple scene. In most cases values of 1 or 2 are sufficient, especially for outdoor scenes.
The error_bound value mainly affects the structures of the shadows. Values larger than the default of 1.8 do not have much effect, they make the shadows even flatter. Extremely low values can lead to very good results, but the rendering time can become very long, and you may need to modify other parameters to avoid a grainy appearance:
|
error_bound 0.01 |
error_bound 1.0 |
error_bound 1.8 |
|
error_bound 0.01 (difference) |
error_bound 1.0 (difference) |
error_bound 1.8 (difference) |
Somewhat related to error_bound is low_error_factor. It reduces error_bound during the pretrace phase. Changing this can be useful to eliminate artifacts.
|
low_error_factor 0.01 |
low_error_factor 0.5 |
low_error_factor 1.0 |
|
low_error_factor 0.01 (difference) |
low_error_factor 1.0 (difference) |
From now on, we'll be using recursion_limit 1, error_bound 0.2 and low_error_factor 1.0 to emphasize the effects of the next parameters we'll have a look at.
The following 3 images illustrate the effect of count. It is a general quality and accuracy parameter leading to higher quality and slower rendering at higher values. They're not a cure-for-all though. For the difference images we compared with count 150.
|
count 2 |
count 35 (default) |
count 1000 |
|
count 2 (difference) |
count 35 (difference) |
count 1000 (difference) |
Another parameter that affects quality is nearest_count. You can use values from 1 to 20, default is 5; we're comparing to a value of 10 here:
|
nearest_count 1 |
nearest_count 5 (default) |
nearest_count 20 |
|
nearest_count 1 (difference) |
nearest_count 5 (difference) |
nearest_count 20 (difference) |
Again higher values lead to less artifacts and smoother appearance but slower rendering.
nearest_count also accepts a second parameter, which activates adaptive pretrace, providing a good means of speeding up pretrace without significant loss of quality (not shown here); the value must be smaller than the first parameter (e.g. nearest_count 20,10). When set, POV-Ray will stop pretracing individual areas of the image where the average sample density already satisfies this second value, thereby avoiding to trace low-detail areas over and over again for little gain, while still being able to drill down deep into high-detail areas.
minimum_reuse influences at which minimum distance previous radiosity samples are always reused during calculation, affecting quality and smoothness in nooks and corners. Higher values generally give a smoother appearance, at the cost of corner detail, while lower values may cause corners to look splotchy unless the other parameters (most notably count and nearest_count) are set for higher quality as well.
As minimum_reuse must be lower than maximum_reuse, to avoid a parse error with the highest setting we're using minimum_reuse 4.0 for these three images.
|
minimum_reuse 0.2 |
minimum_reuse 0.015 |
minimum_reuse 0.005 |
|
minimum_reuse 0.2 (difference) |
minimum_reuse 0.015 (difference) |
Another important value is pretrace_end. It specifies how many pretrace steps are calculated and thereby strongly influences the speed. Usually lower values lead to better quality, but it is important to keep this in good relation to error_bound.
|
pretrace_end 0.2 |
pretrace_end 0.01 |
pretrace_end 0.001 |
|
pretrace_end 0.2 |
pretrace_end 0.001 |
Normally in the final trace no additional radiosity samples are taken unless absolutely needed. You can change this by adding always_sample on, allowing you to increase pretrace_end to speed up rendering. Note however that this is very prone to artifacts such as visible render block boundaries and horizontal "smearing", so it is usually only useful for test renders. You should also use a low setting for nearest_count, or you may actually increase the rendering time (and the probability of getting the mentioned artifacts!).
|
always_sample off |
always_sample on |
always_sample on (difference) |
The effect of max_sample is similar to brightness. It does not reduce the radiosity effect in general but weakens samples with brightness above the specified value.
|
max_sample 0.5 |
max_sample 0.8 |
max_sample not set (default) |
You can strongly affect things with the objects' finishes. In fact that is the most important thing about radiosity. Normal objects should have emission finish 0 (default). Objects with emission > 0 actually act as light sources in radiosity scenes.
Remember that the default finish values used until now were diffuse 0.65 emission 0.
|
diffuse 0.65 emission 0.2 |
diffuse 0.4 emission 0 |
diffuse 1.0 emission 0 |
Finally you can vary the sky in outdoor radiosity scenes. In all these examples it is implemented with a sphere object.
finish { emission 1 diffuse 0 } and the pigment of the original sample scene were used until now. The following images show some variations:
|
emission 0 diffuse 1 |
emission 0 diffuse 0 (no sky) |
rgb <1,0.8,0> to blue 1 gradient |
